
How to Hide a Recovery Partition (or Other Drive) in Windows
- maddy4742
- Jan 2, 2021
- 3 min read

Any disk connected to your PC (whether removeable or integrated) shows up in the disk management tools, and typically Explorer and other desktop applications.
Today, we’re going to hide a partition (or entire disk) for those times you’d rather keep sensitive files out of the prying eyes of casual users who may access your laptop (or desktop).
It’ll still be visible in certain tools, like Disk Management, but won’t appear in Explorer or various other programs that might display it.

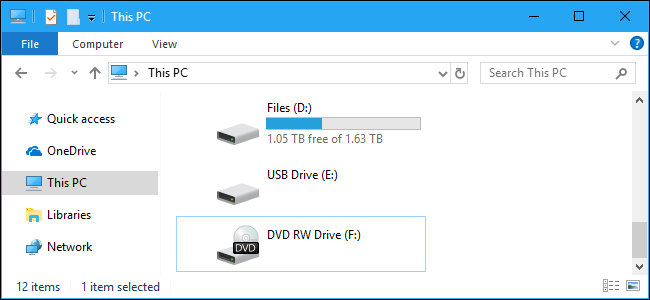
PC manufacturers often include recovery partitions. These are usually hidden, but sometimes become visible under This PC and elsewhere in Windows. Here’s how to hide a recovery partition—or any other drive.
We’ll be removing a partition’s drive letter to hide it. The partition will still be visible to disk management tools, but it won’t appear in Explorer and normal desktop applications. You can always reassign a drive letter to it in the future.
Option One: Use Disk Management
For many partitions, you can do this with the graphical Disk Management tool. To open it on Windows 10, right-click the Start button (or press Windows+X), and then click the “Disk Management” option.

To open it on Windows 7, open your Start menu, type “hard disk” into the search box, and then click the “Create and format hard disk partitions” shortcut.

Locate the partition you want to hide. For example, if you want to hide the drive that has the letter “D:” under File Explorer, look for the partition that has the letter “D:” under the Volume column in the Disk Management window.
Right-click that partition, and then select the “Change Drive Letter and Paths” command.
If you don’t see any options other than “Help “when you right-click a drive, continue to the next section instead. You’ll need to use the diskpart command to remove the drive letter. The graphical interface won’t let you.

Select the drive letter you want to remove in the window that appears, click the “Remove” button, and then click the “OK” button.
Note : Each partition generally has only a single drive letter. If the partition has multiple drive letters assigned to it, you’ll probably want to remove each from here.

Windows warns you that programs may not run correctly if you remove the drive letter. For example, if you installed an application on this drive or stored important files on it, you won’t be able to access them while the drive doesn’t have a letter assigned to it.
Click “Yes” to continue.

If the drive is currently in use, you’re warned that you must restart your PC to finish the process. Click “Yes” again, and then restart your PC. The drive won’t be visible in Windows after you finish this process.

If you want to make the drive visible again in the future, head back to the Disk Management tool, go to the Change Drive Letter and Paths window, and then click the “Add” button to add a drive letter to it.
Give the drive the same letter as it had before, and everything should work properly, even if you installed applications on the drive before you removed its drive letter.
Option Two: Run the Diskpart Command
The Disk Management tool can’t work with every partition. To hide stubborn partitions, you’ll need to run the diskpart command.
First, identify the drive letter of the partition you want to hide. You can find this under This PC in File Explorer on Windows 10, or under Computer in Windows Explorer on Windows 7.
For example, in the screenshot below, we want to hide the “G:” drive.

This command must be run from a Command Prompt window launched with Administrator permissions. To launch one, open your Start menu, type “cmd” into the search box, right-click “Command Prompt” result, and the select the “Run as Administrator” command.

At the prompt, launch the tool by typing the following command and hitting Enter:


Note that the prompt changes to “DISKPART>” to indicate that you’re now inside that tool. Type the following command and then hit Enter to list the volumes attached to your computer:


Identify the volume number of the partition you want to hide.
For example, we want to hide the partition with the drive letter G:, which we can see is “Volume 1” in the above screenshot.
Run the following command to select the partition, replacing # with the number of the volume:

In our example, we want to select volume 1, so we’d run the following command:


Run the following command to remove the drive letter, replacing G with the letter you want to remove:


The recovery partition or any other drive will instantly be hidden.
Of course, you can’t use either of these tricks to hide the Windows system drive, which is normally located at C:. Windows needs this partition available to function.


Comments